
반업주부의 일상 배움사
Nodejs + Docker + ECR 배포 본문
[ Local: Nodejs - express ]
1. index.js
const express = require("express");

const app = express();

app.get("/", (req, res) => {
  res.send("This is my express app");
});

app.get("/me", (req, res) => {
  res.send("Hi I am Laith");
});

app.listen(3000, () => {
  console.log("listening");
});
2. package.json
{
  "name": "project",
  "version": "1.0.0",
  "description": "",
  "main": "index.js",
  "scripts": {
    "test": "echo \"Error: no test specified\" && exit 1"
  },
  "keywords": [],
  "author": "",
  "license": "ISC",
  "dependencies": {
    "express": "^4.17.1"
  }
}
3. 모듈 설치 및 실행
$ npm i
$ node index.js
4. 브라우저에서 http://localhost:3000/ 접속
[ Local: Docker ]
1. Dockerfile (Nodejs 프로젝트 루트에 생성)
FROM node:16.13.1

WORKDIR /app

COPY package.json .

RUN npm install

COPY . .

EXPOSE 3000

CMD [ "node", "index.js" ]
2. 빌드 및 확인
$ docker build -t express-app .
$ docker images
3. 실행
$ docker run -p 5678:3000 ffe4a10e47e7 # 마지막 해시는 IMAGE ID
4. 브라우저에서 http://localhost:5678/ 접속
[ AWS - IAM ]
사용자 생성 > 아래 권한을 추가 > 액세스 키 발급 > 터미널 > aws configure
{
    "Version": "2012-10-17",
    "Statement": [
        {
            "Effect": "Allow",
            "Action": [
                "ecr:GetAuthorizationToken",
                "ecr:BatchCheckLayerAvailability",
                "ecr:CompleteLayerUpload",
                "ecr:GetAuthorizationToken",
                "ecr:InitiateLayerUpload",
                "ecr:PutImage",
                "ecr:UploadLayerPart",
                "ecr:DescribeImages",
                "ecr:BatchGetImage",
                "ecr:GetDownloadUrlForLayer"
            ],
            "Resource": "*"
        }
    ]
}
[ AWS - ECS > ECR ]
1. 기본 설정에 리포지토리 이름만 넣어서 생성
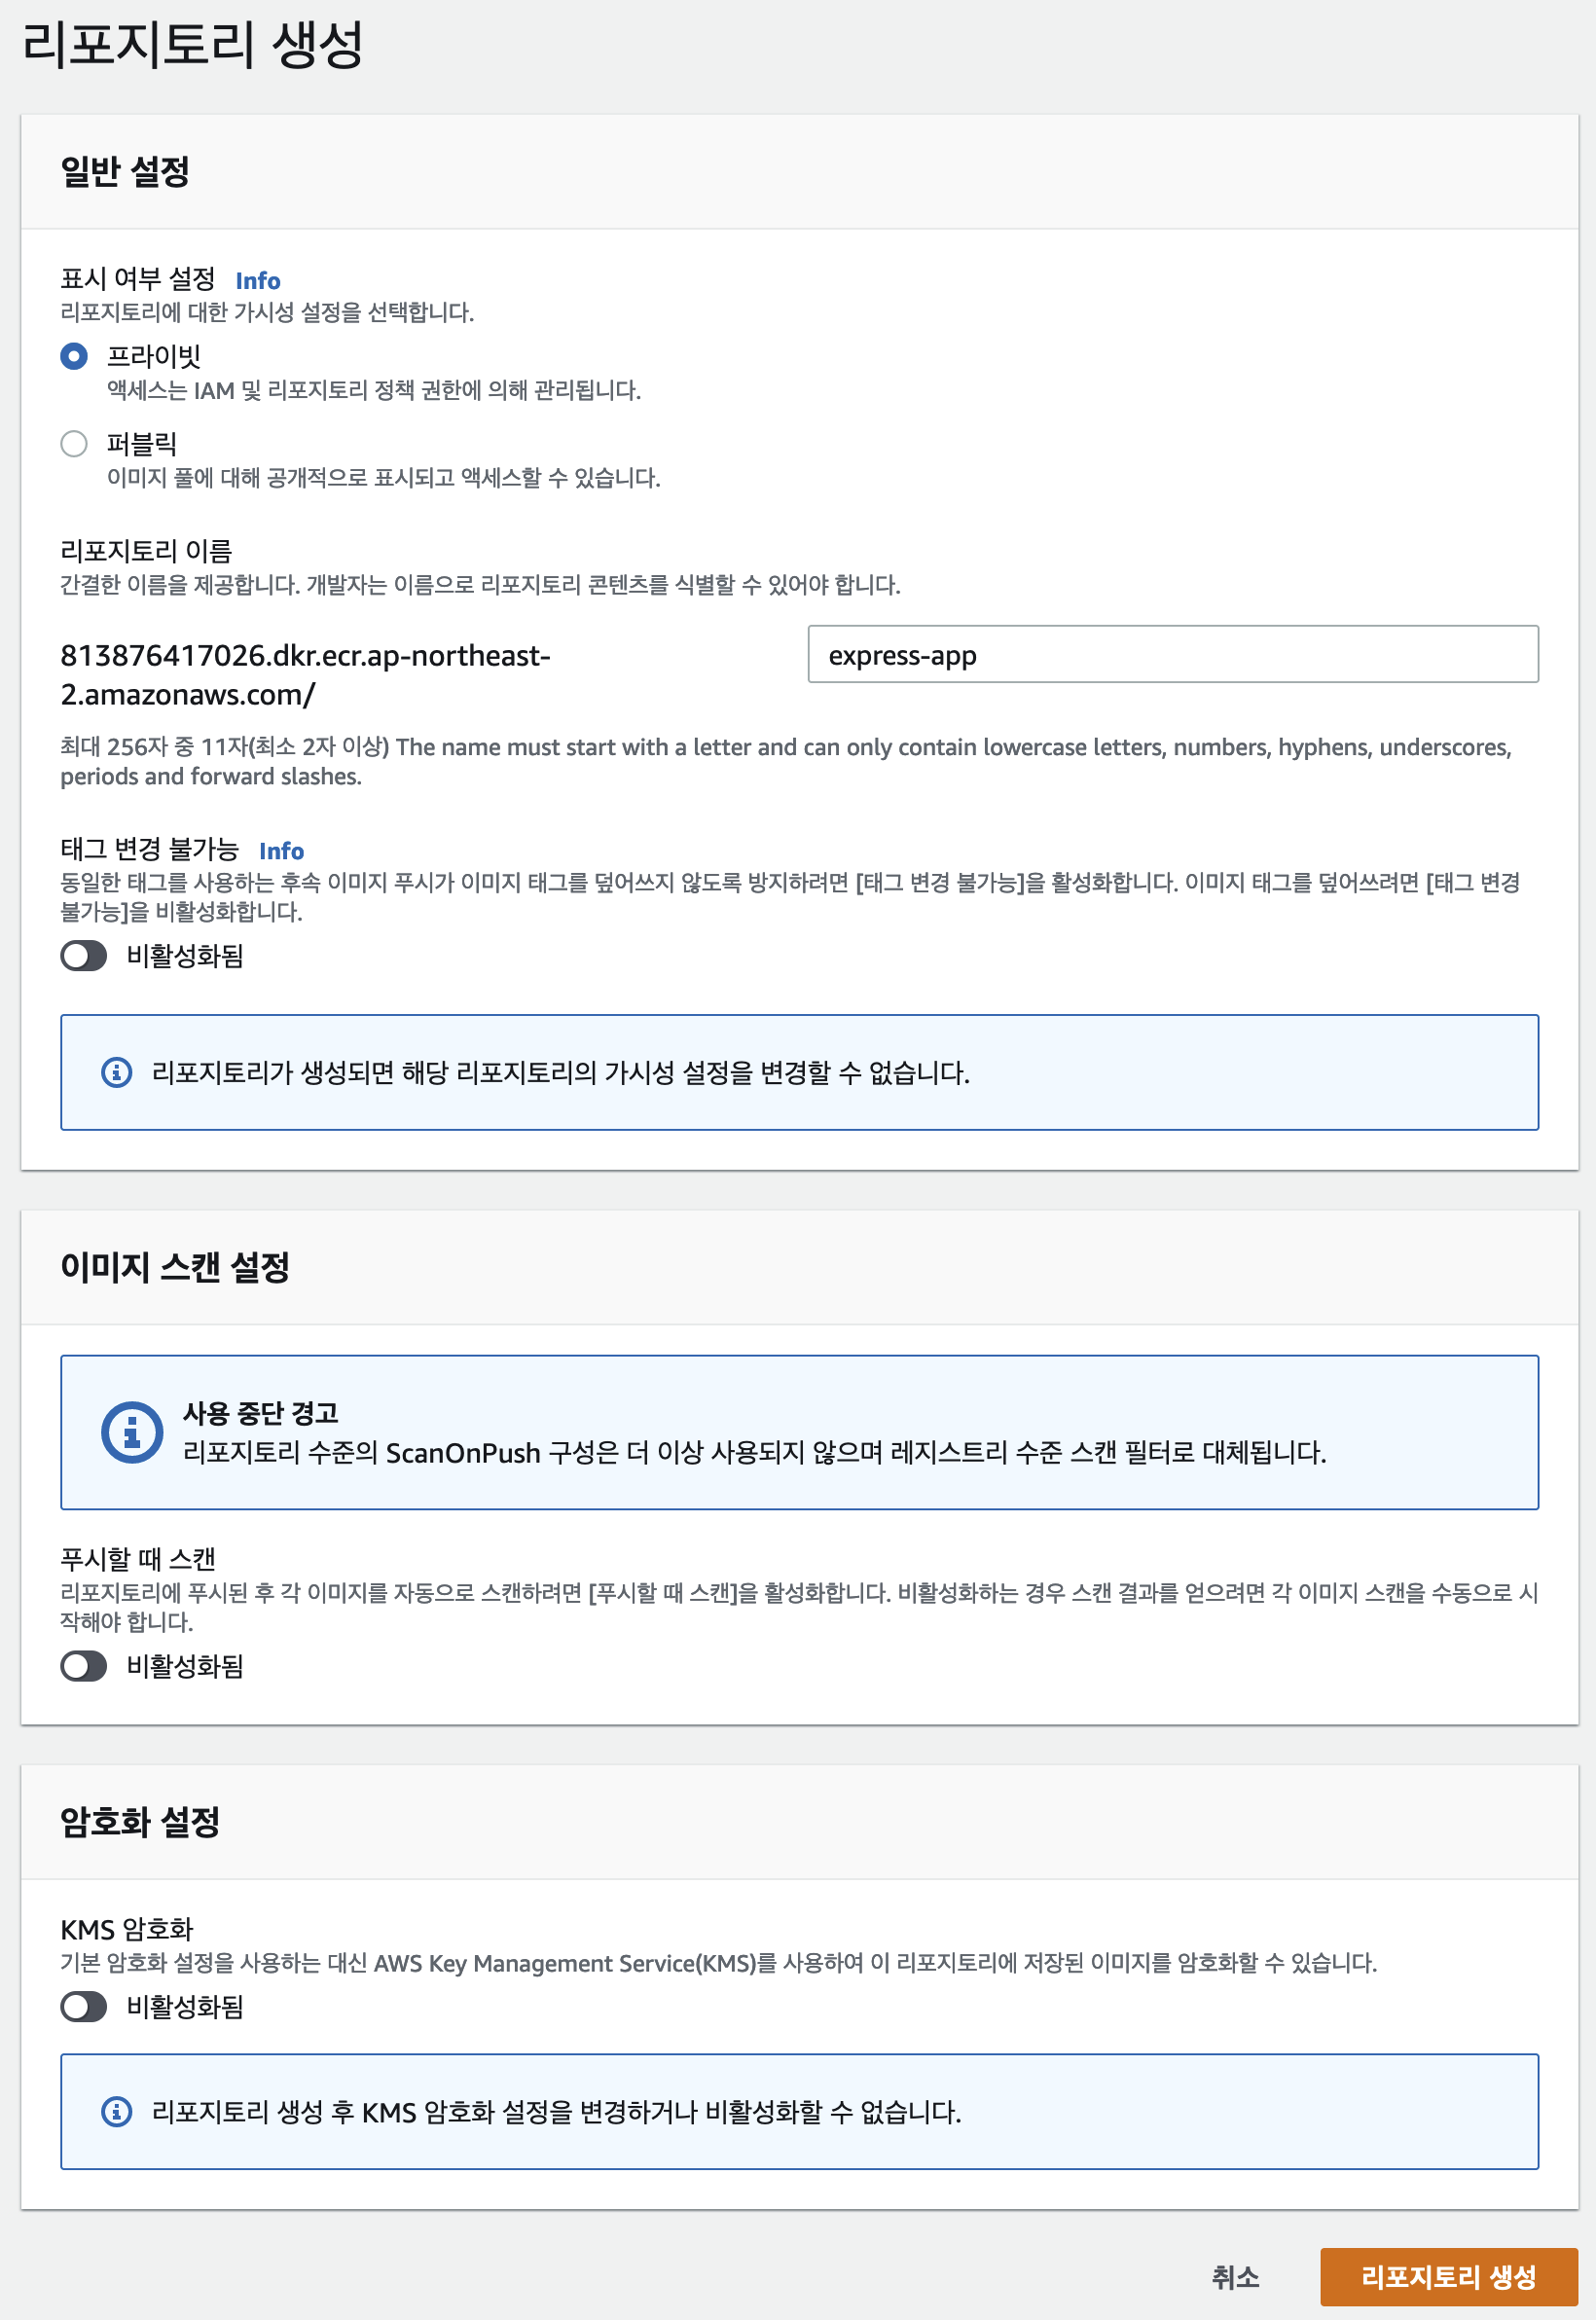
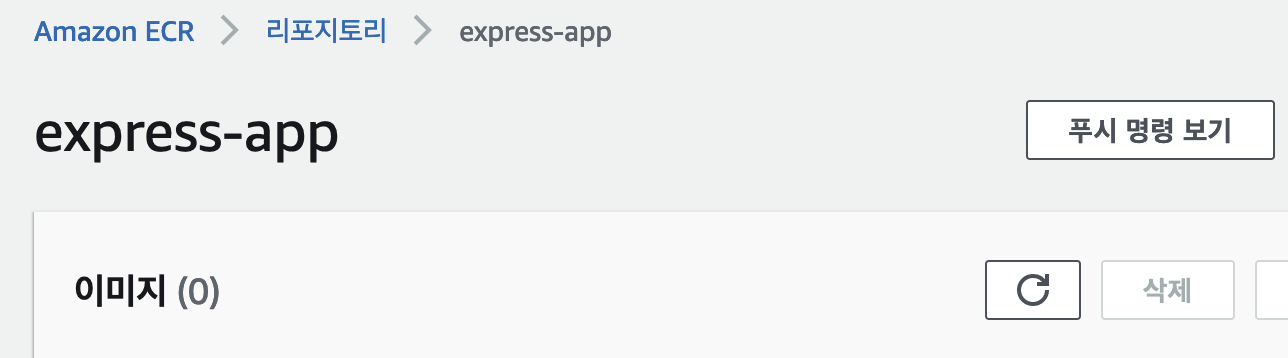
2. 리포지토리 선택 > 푸시 명령 보기 버튼 클릭
3. 터미널에서 단계별 명령어 실행 > 이미지 생성
[ EC2 ]
1. 도커 설치 (t2.micro > Ubuntu 22.04)
$ sudo su -
$ apt-get update
$ apt-get upgrade -y
$ apt-get install -y ca-certificates curl software-properties-common apt-transport-https gnupg lsb-release
$ curl -fsSL https://download.docker.com/linux/ubuntu/gpg -o /usr/share/keyrings/docker-archive-keyring.gpg
$ chmod a+r /usr/share/keyrings/docker-archive-keyring.gpg
$ add-apt-repository "deb [arch=amd64] https://download.docker.com/linux/ubuntu bionic stable"
$ apt-get update
$ apt-get install docker-ce -y
$ apt-cache policy docker-ce
$ docker -v
2. AWS CLI 설치
$ apt-get install awscli -y
$ aws configure
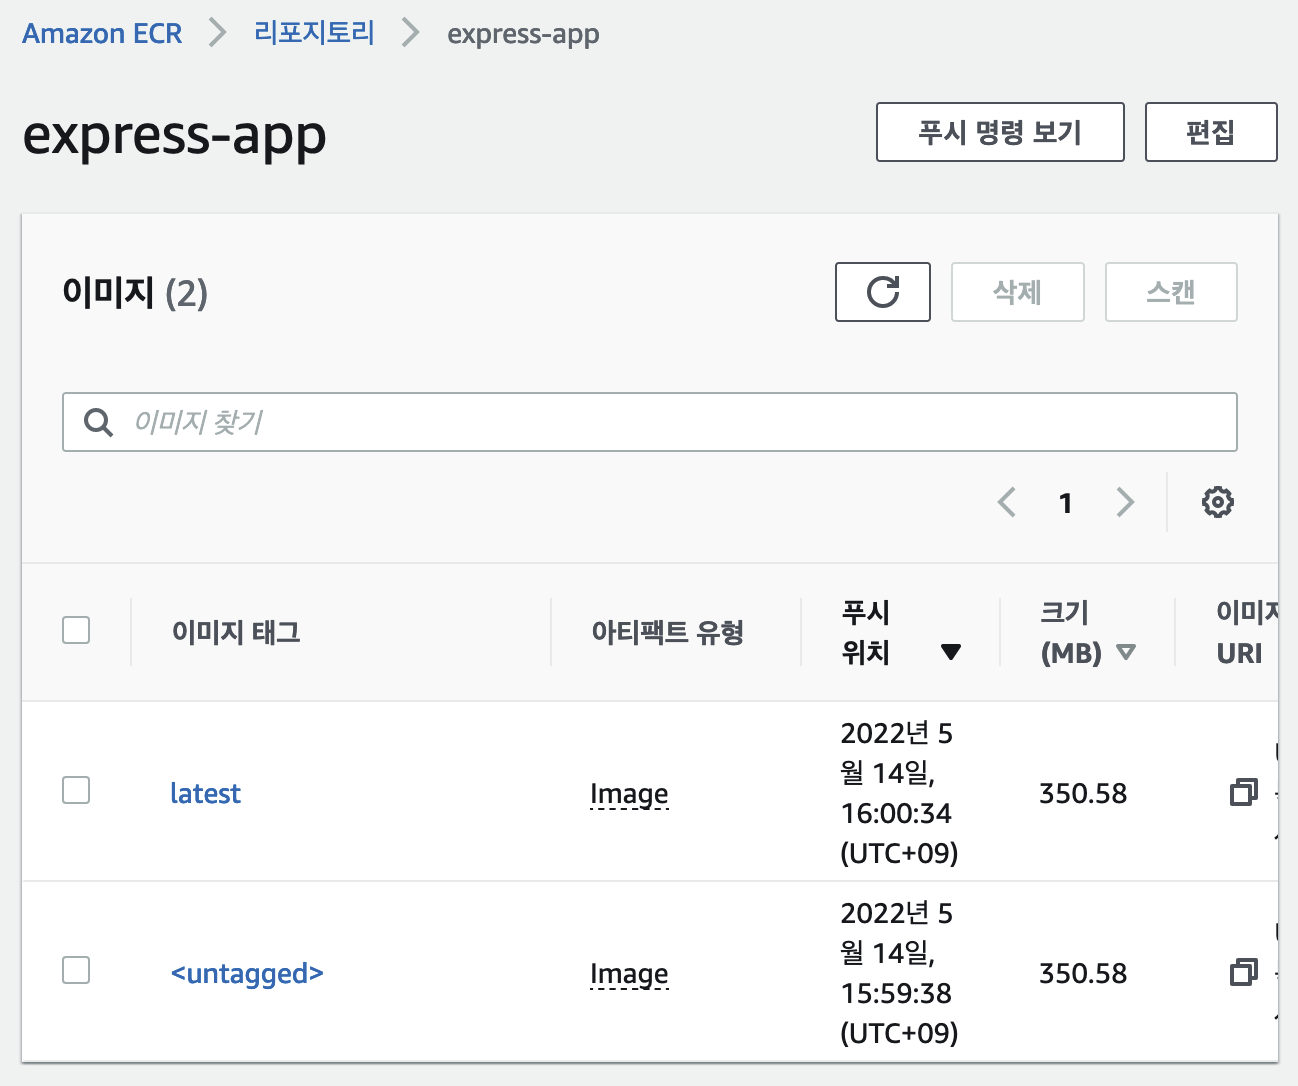
$ aws ecr describe-images --repository-name express-app
$ aws ecr get-login --region ap-northeast-2 <= 결과 값을 복사해서 다시 실행 (만약 에러가 난다면 -e none 삭제 후 시도)
3. ECR의 이미지 다운로드
$ docker pull {리포지토리 URI}:latest
예) docker pull 736283784849.dkr.ecr.ap-northeast-2.amazonaws.com/express-app:latest

$ docker images
4. 도커 실행 (보안 그룹에서 포트 3000번 열기)
$ docker run -p 3000:3000 {이미지 ID}
5. 브라우저에서 http://3.32.115.111:3000/ 접속 (EC2 IP)
영어, 중국어 공부중이신가요?
홈스쿨 교재. 한 권으로 가족 모두 할 수 있어요!
한GLO 미네르바에듀 : 네이버쇼핑 스마트스토어
한글로 영어가 된다?! 한글로[한GLO]는 영어 중국어 일어 러시아어 스페인어가 됩니다!!
smartstore.naver.com
반응형
LIST
'IT 인터넷 > Docker' 카테고리의 다른 글
| [Docker] 단숨에 도커 설치 및 Hello World 튜토리얼 따라하기 (0) | 2020.07.27 |
|---|
'IT 인터넷/Docker' Related Articles
more

Comments